Partially Edentulous Reconstruction Using The Core-Vent System
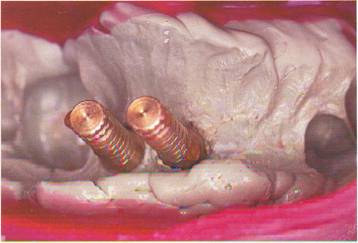
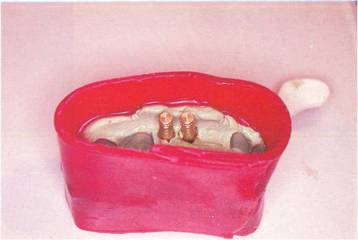
A quadrant impression shows Core-Vent implant replicas (CV BH3) seated firmly on the impres-sion posts (CV BC3). A small amount of sticky wax is used to insure the replica does not move.
The impression is boxed with wax ana reaoy for a swne puur.
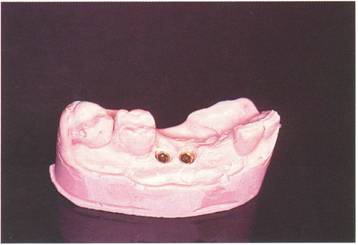
The master cast is separated, cleaned and trimmed.
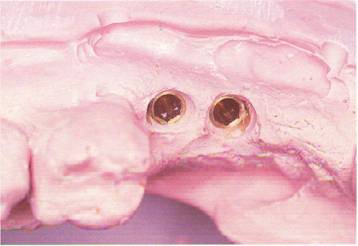
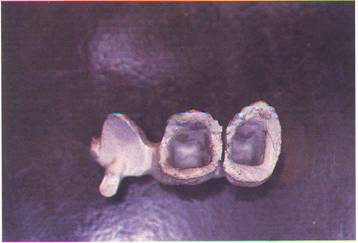
A close-up view of the implant replicas reveals a clean metal surface and accurate reproduction of soft tissue surrounding the fixtures.
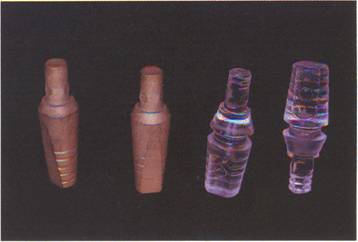
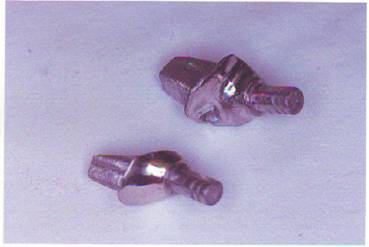
This view shows the Core-Vent impression posts on the left
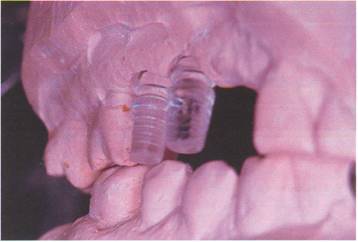
The PC3 patterns are seated in the implant replicas. The articulated casts show the buccal inclination pre(lcnt. The PC3 will be modified lingually to enhance the esthetics of the implant-supported bridge.
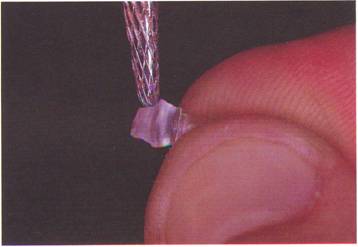
A carbide bur is used to reduce the size of the two PC3 patterns to the desired shape.
Crown and bridge wax is added to the shortened PC3 patterns to form a parallel path of insertion for the bridge. Adequate occlusal space should be maintained to allow ideal ceramo-metal contour to be restored.
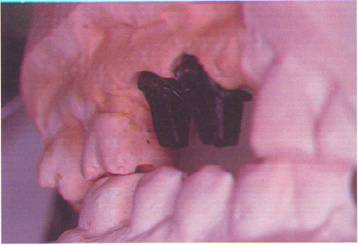
The posts are removed from the model and the final touch-up contours are completed in wax. The two patterns are sprued up invested in a high heat phosphous investment (Ceramigold II, Whip Mix Corp). After correct burn-out procedures, the ring is cast using SFC metal (J eneric- Pentron Corp. ) , following the manufacturer's directions.
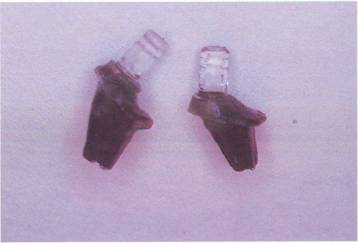
The castings are carefully devested with special attention being paid not to violate the integrity of the post portion of the pattern. The tissue side of the post is highly polished and the coronal aspect is finished with a diamond bur.
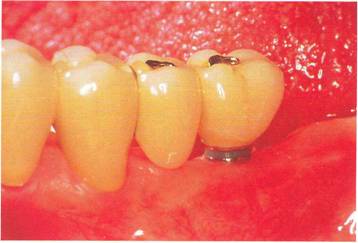
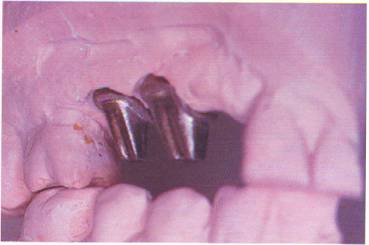
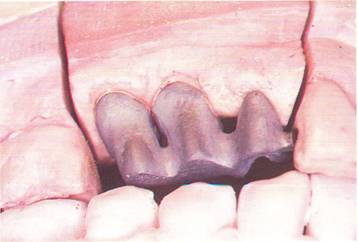
The posts are shown seated on the master cast. Note the finish line prepared just above the tissue level. This promotes a good emergence profile as well as a very esthetic bridge. The two modified PC3 posts are ready for cementation.
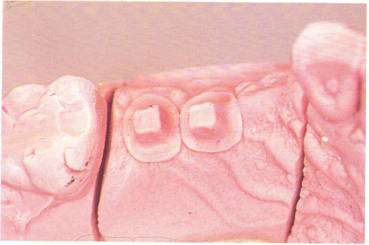
An impression is taken of the cemented posts and a master cast is poured and pindexed. The entire area of the bridge is contained in one large die to preserve the accuracy needed for a well-fitting overcasting.
The stone posts are treated with die hardener (Rock Set, lelenko Co.). The wax pattern substructure is created on each post, initially. This enables tho tochnicinn to control the marginal fit and coping contour to Q fine degree. The pontic, with a small holding tab, is then placed, and all the units are connected with wax. The sprues are attached, and investing and casting procedures are completed.
The casting is carefully devested and inspected for defects.
Metal finishing procedures are completed and checked on the model. The interproximal area here is extremely narrow and must be kept open to promote good hygiene.

The casting is sandblasted, degassed, and a first wash of opaque is applied.
A second layer of opaque enhances the coloration and masking properties.
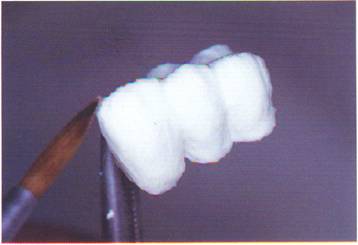
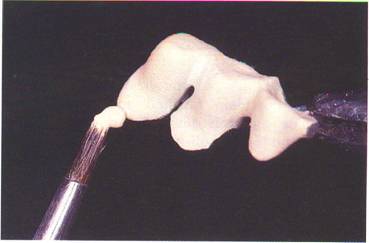
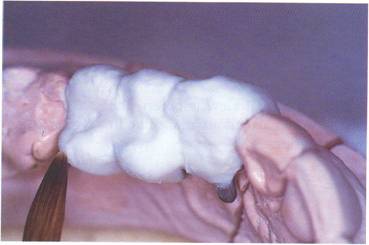
A small piece of wet tissue paper is adapted to the cuspid pontic area. This step helps to create good gingival contour upon removal. The opaqued frame is seated on the cast and the porcelain buildup is started.

The final crown contours are com-pleted. The bridge is now ready for the porcelain baking cycle.
This is lingual view of the bridge shows the porcelain finished and glazed. The metal is sand-blasted internally and highly polished on the crown surface.
When a buccal view is taken, the bridge shows excellent marginal fit and esthetics.